My home-made Amaretto is bottled and ready to go. Dead easy to make (here’s the recipe I used) it’s not as good as the real thing but it tastes nice, it’s full of Vodka and it’s better than a pair of socks as a Christmas present.

The average person lives for 28000 days. I started my Never Ending Life List a few years ago and this blog is about the list, life and everything in-between.

My home-made Amaretto is bottled and ready to go. Dead easy to make (here’s the recipe I used) it’s not as good as the real thing but it tastes nice, it’s full of Vodka and it’s better than a pair of socks as a Christmas present.
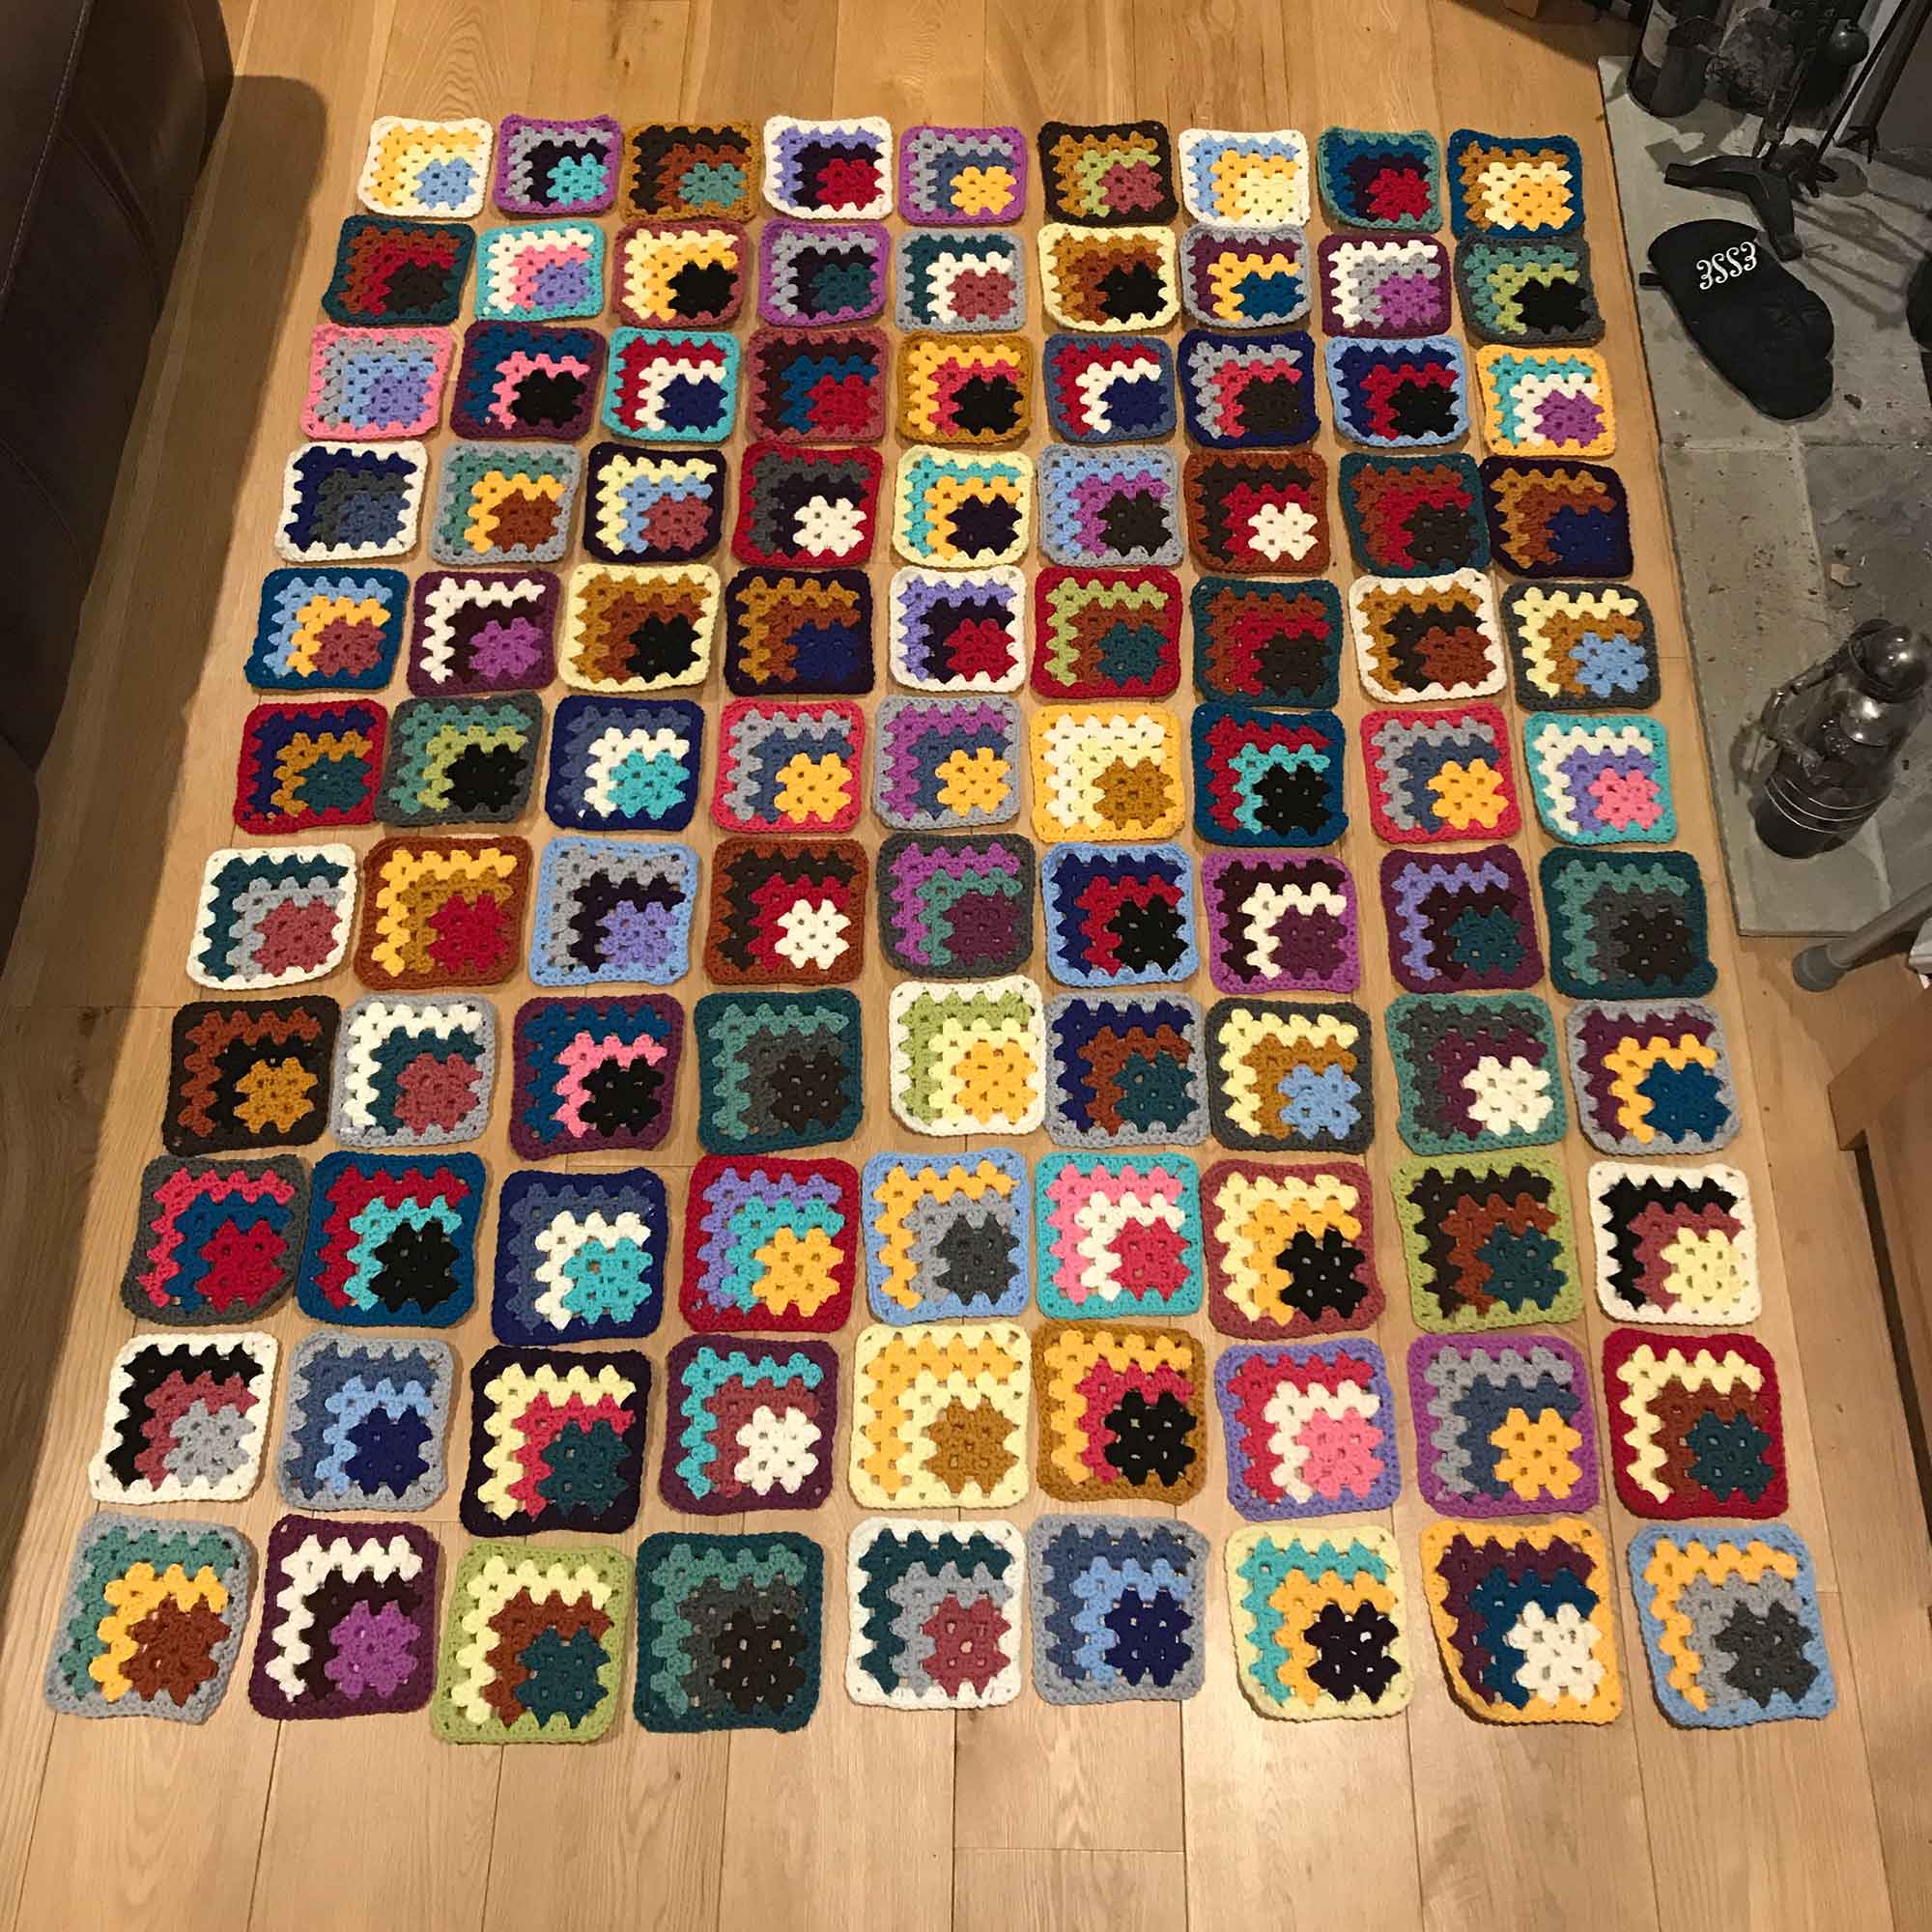
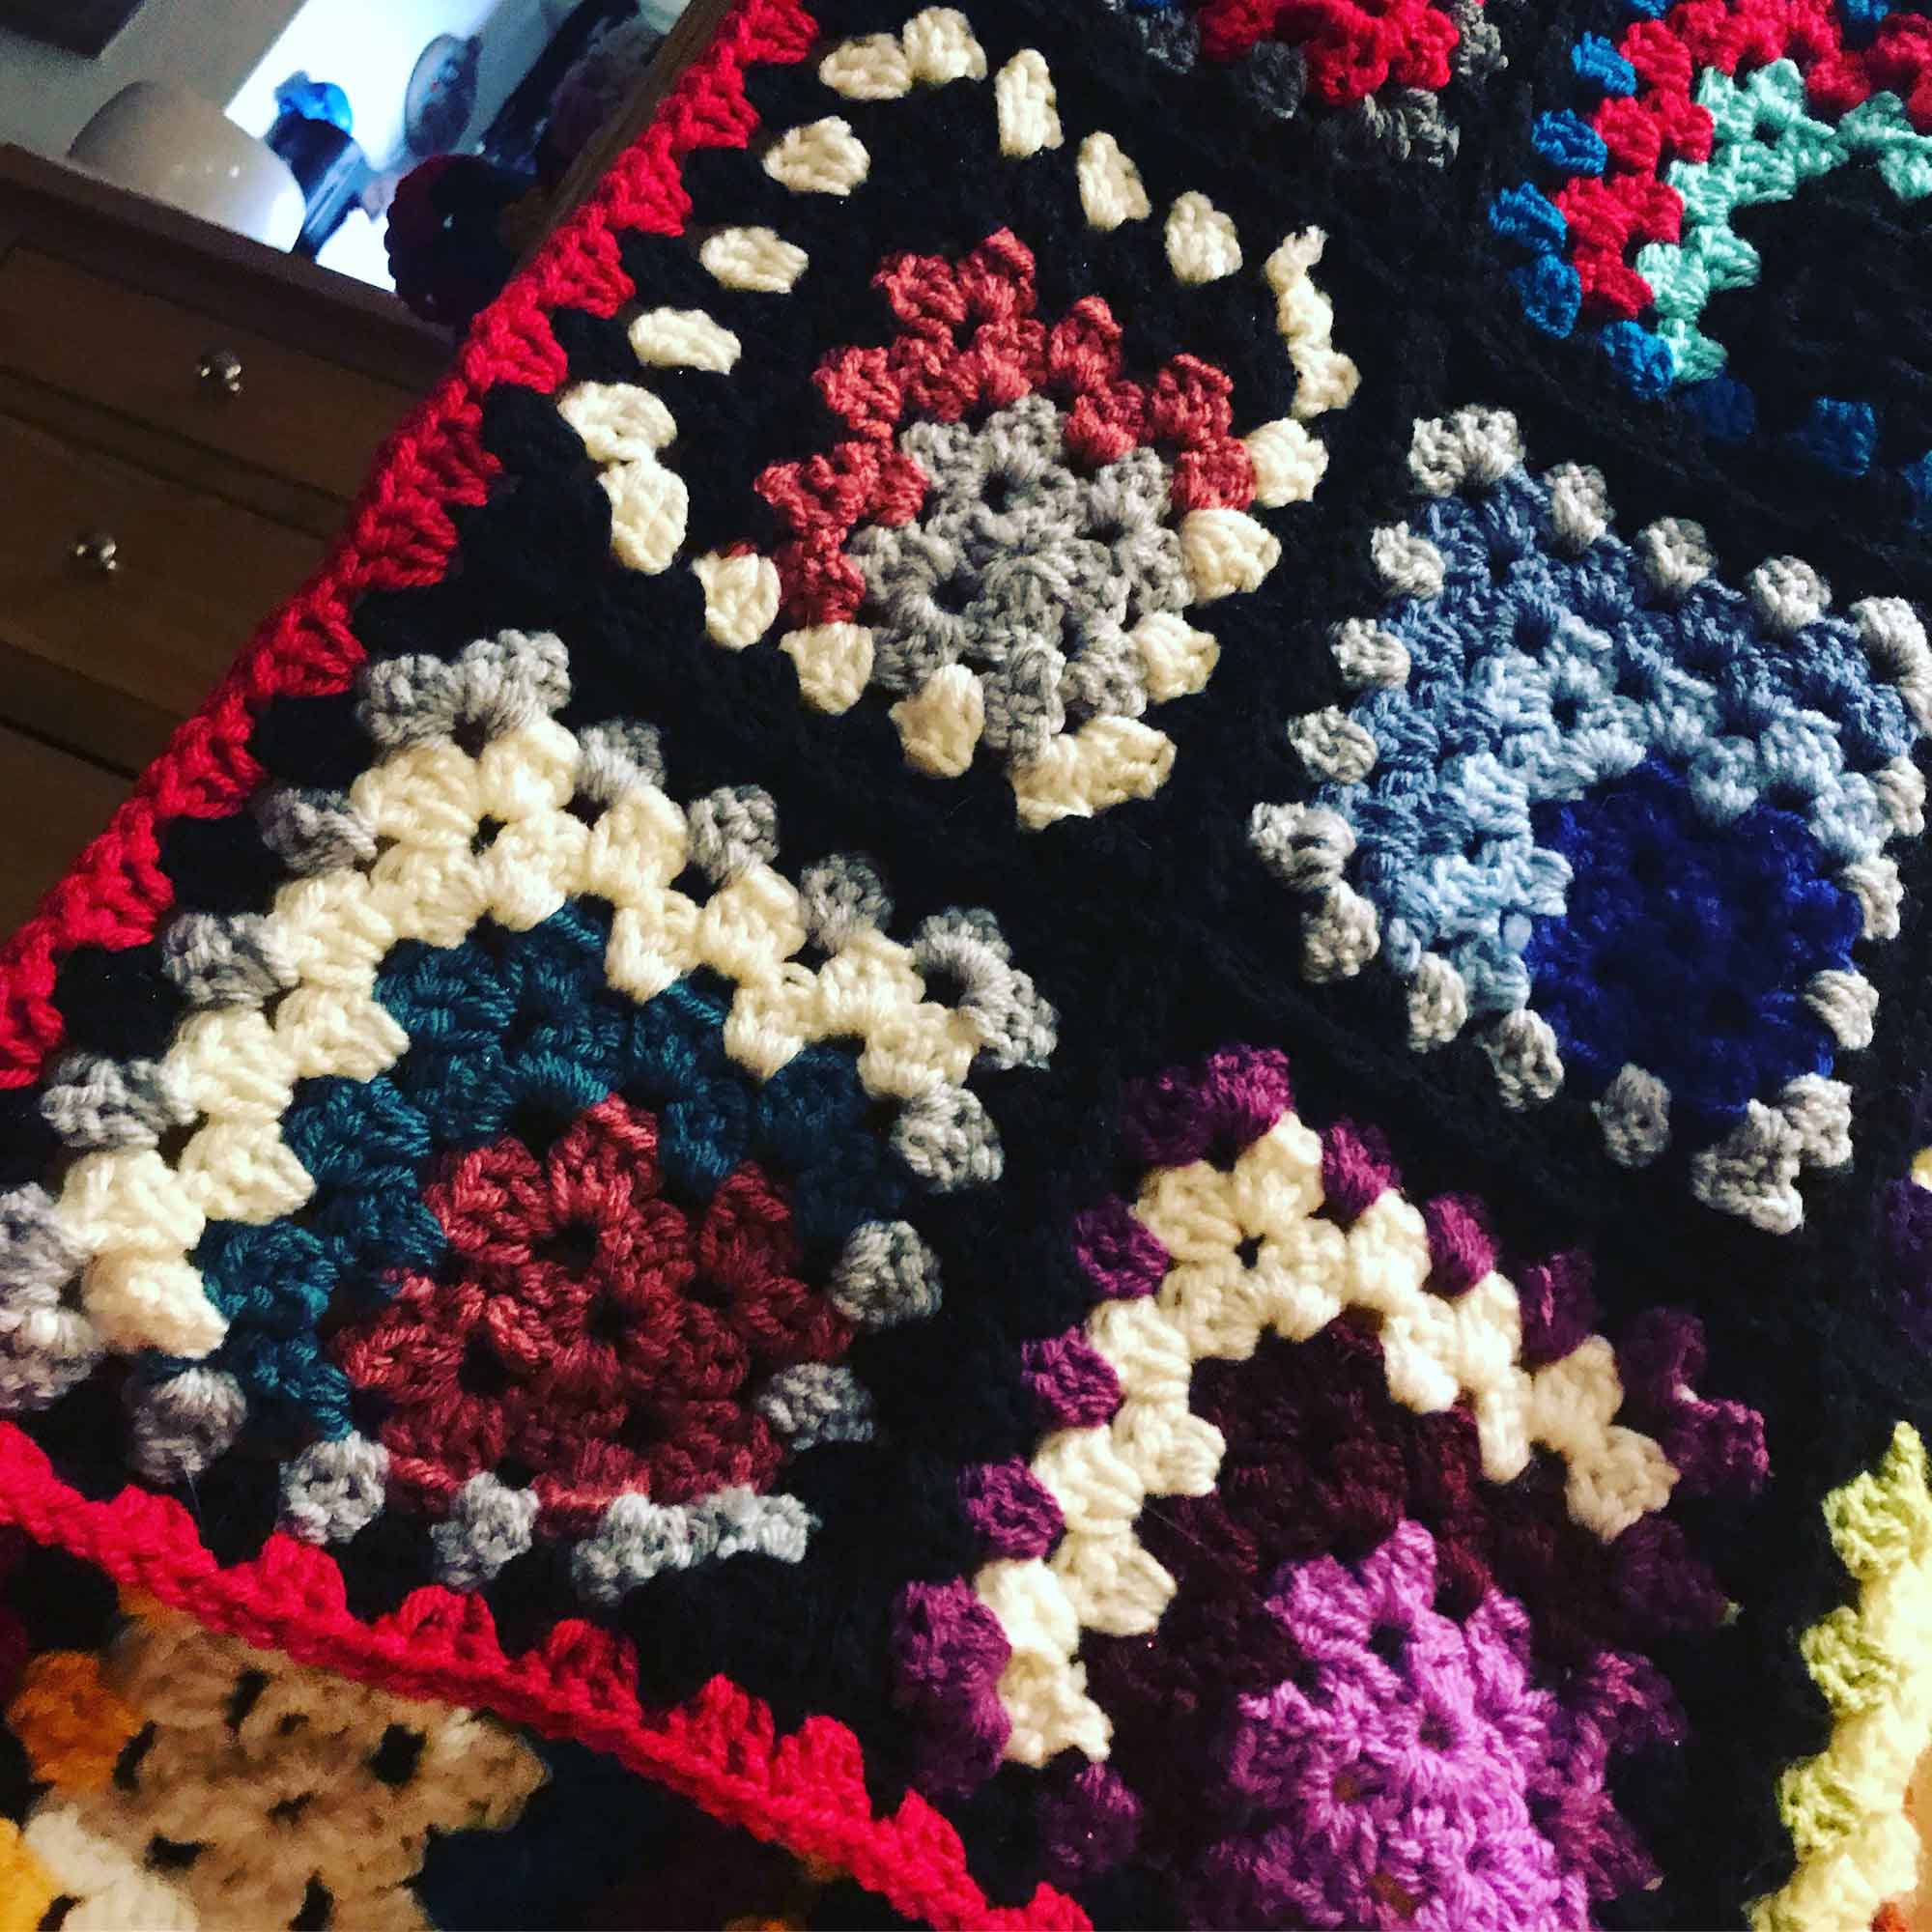
It’s been a labour of love, several months, 99 Granny squares, a shed load of yarn, blood (from the blisters, yes really blisters from crochet – who knew?), sweat (have you tried making a blanket without having to be under it for at least some of the time? These things get warm you know, that’s kind of their purpose in life) and I want to say tears but that would just be for dramatic effect, making my blanket has been fun so no crying involved.
At the start I thought I needed 120 squares and I decided to use this design.
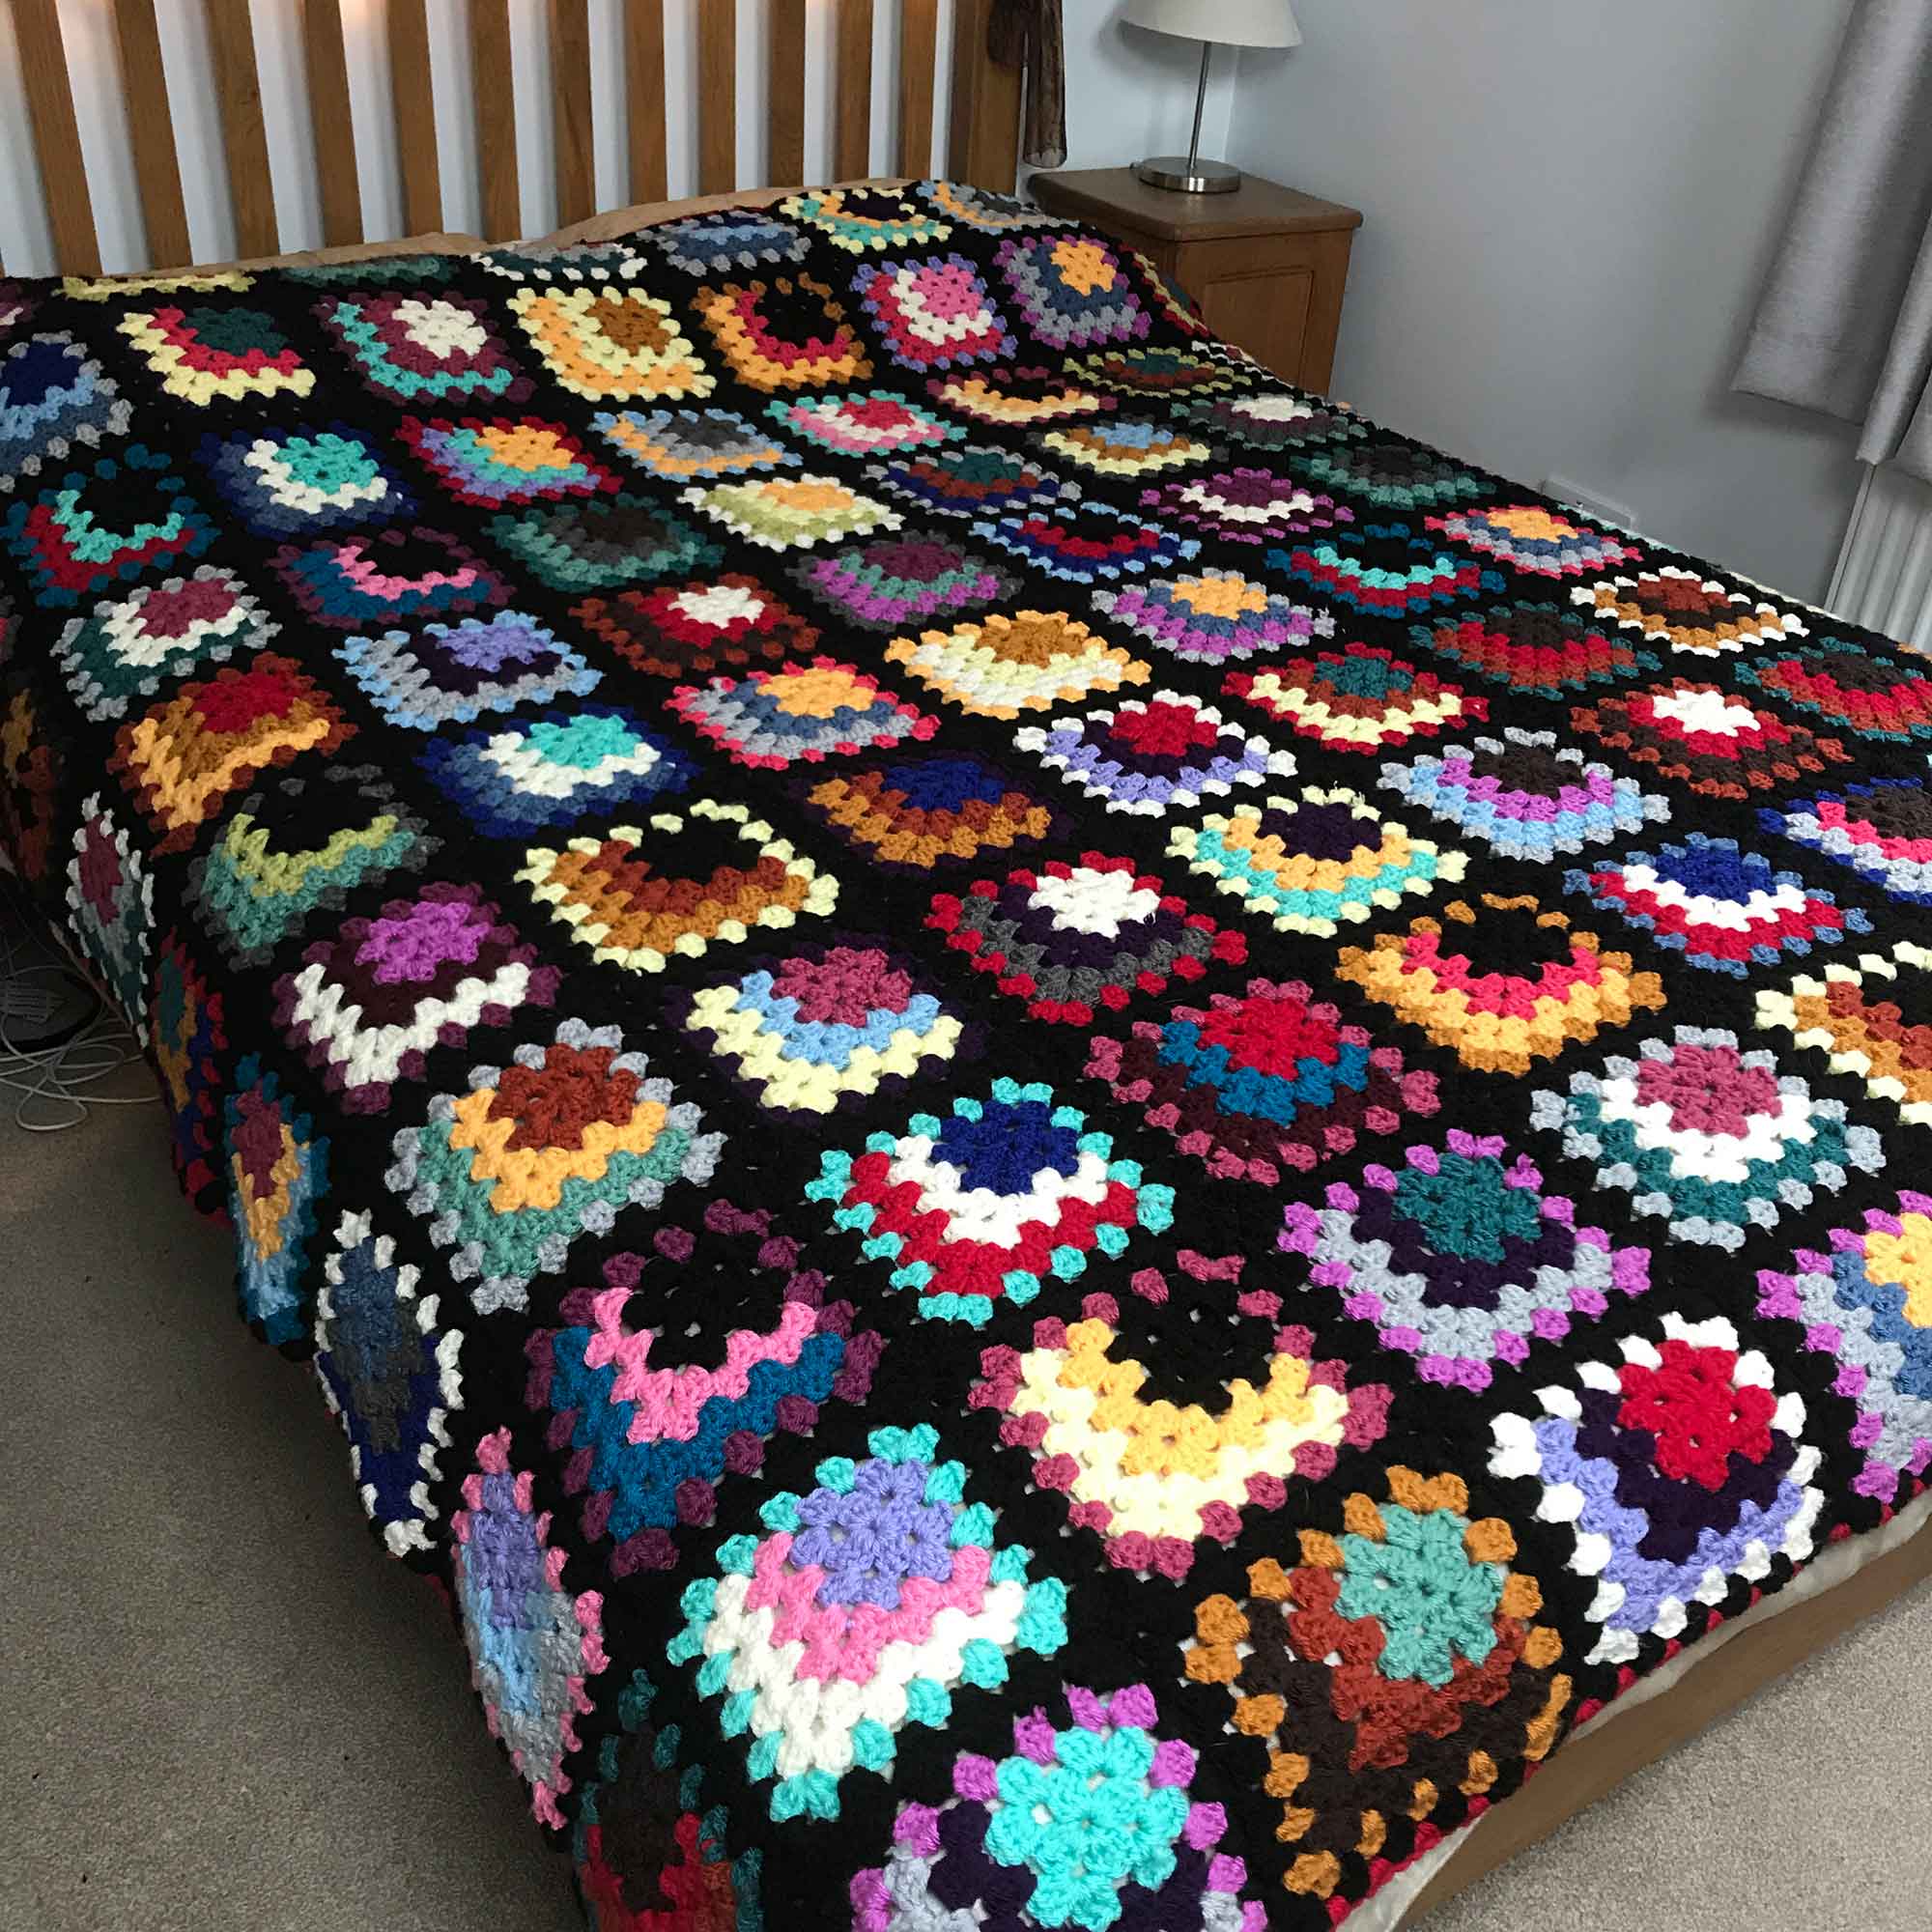
Turns out a standard double bed works just as well with just 99 squares, a couple of rows to join it all and a border.
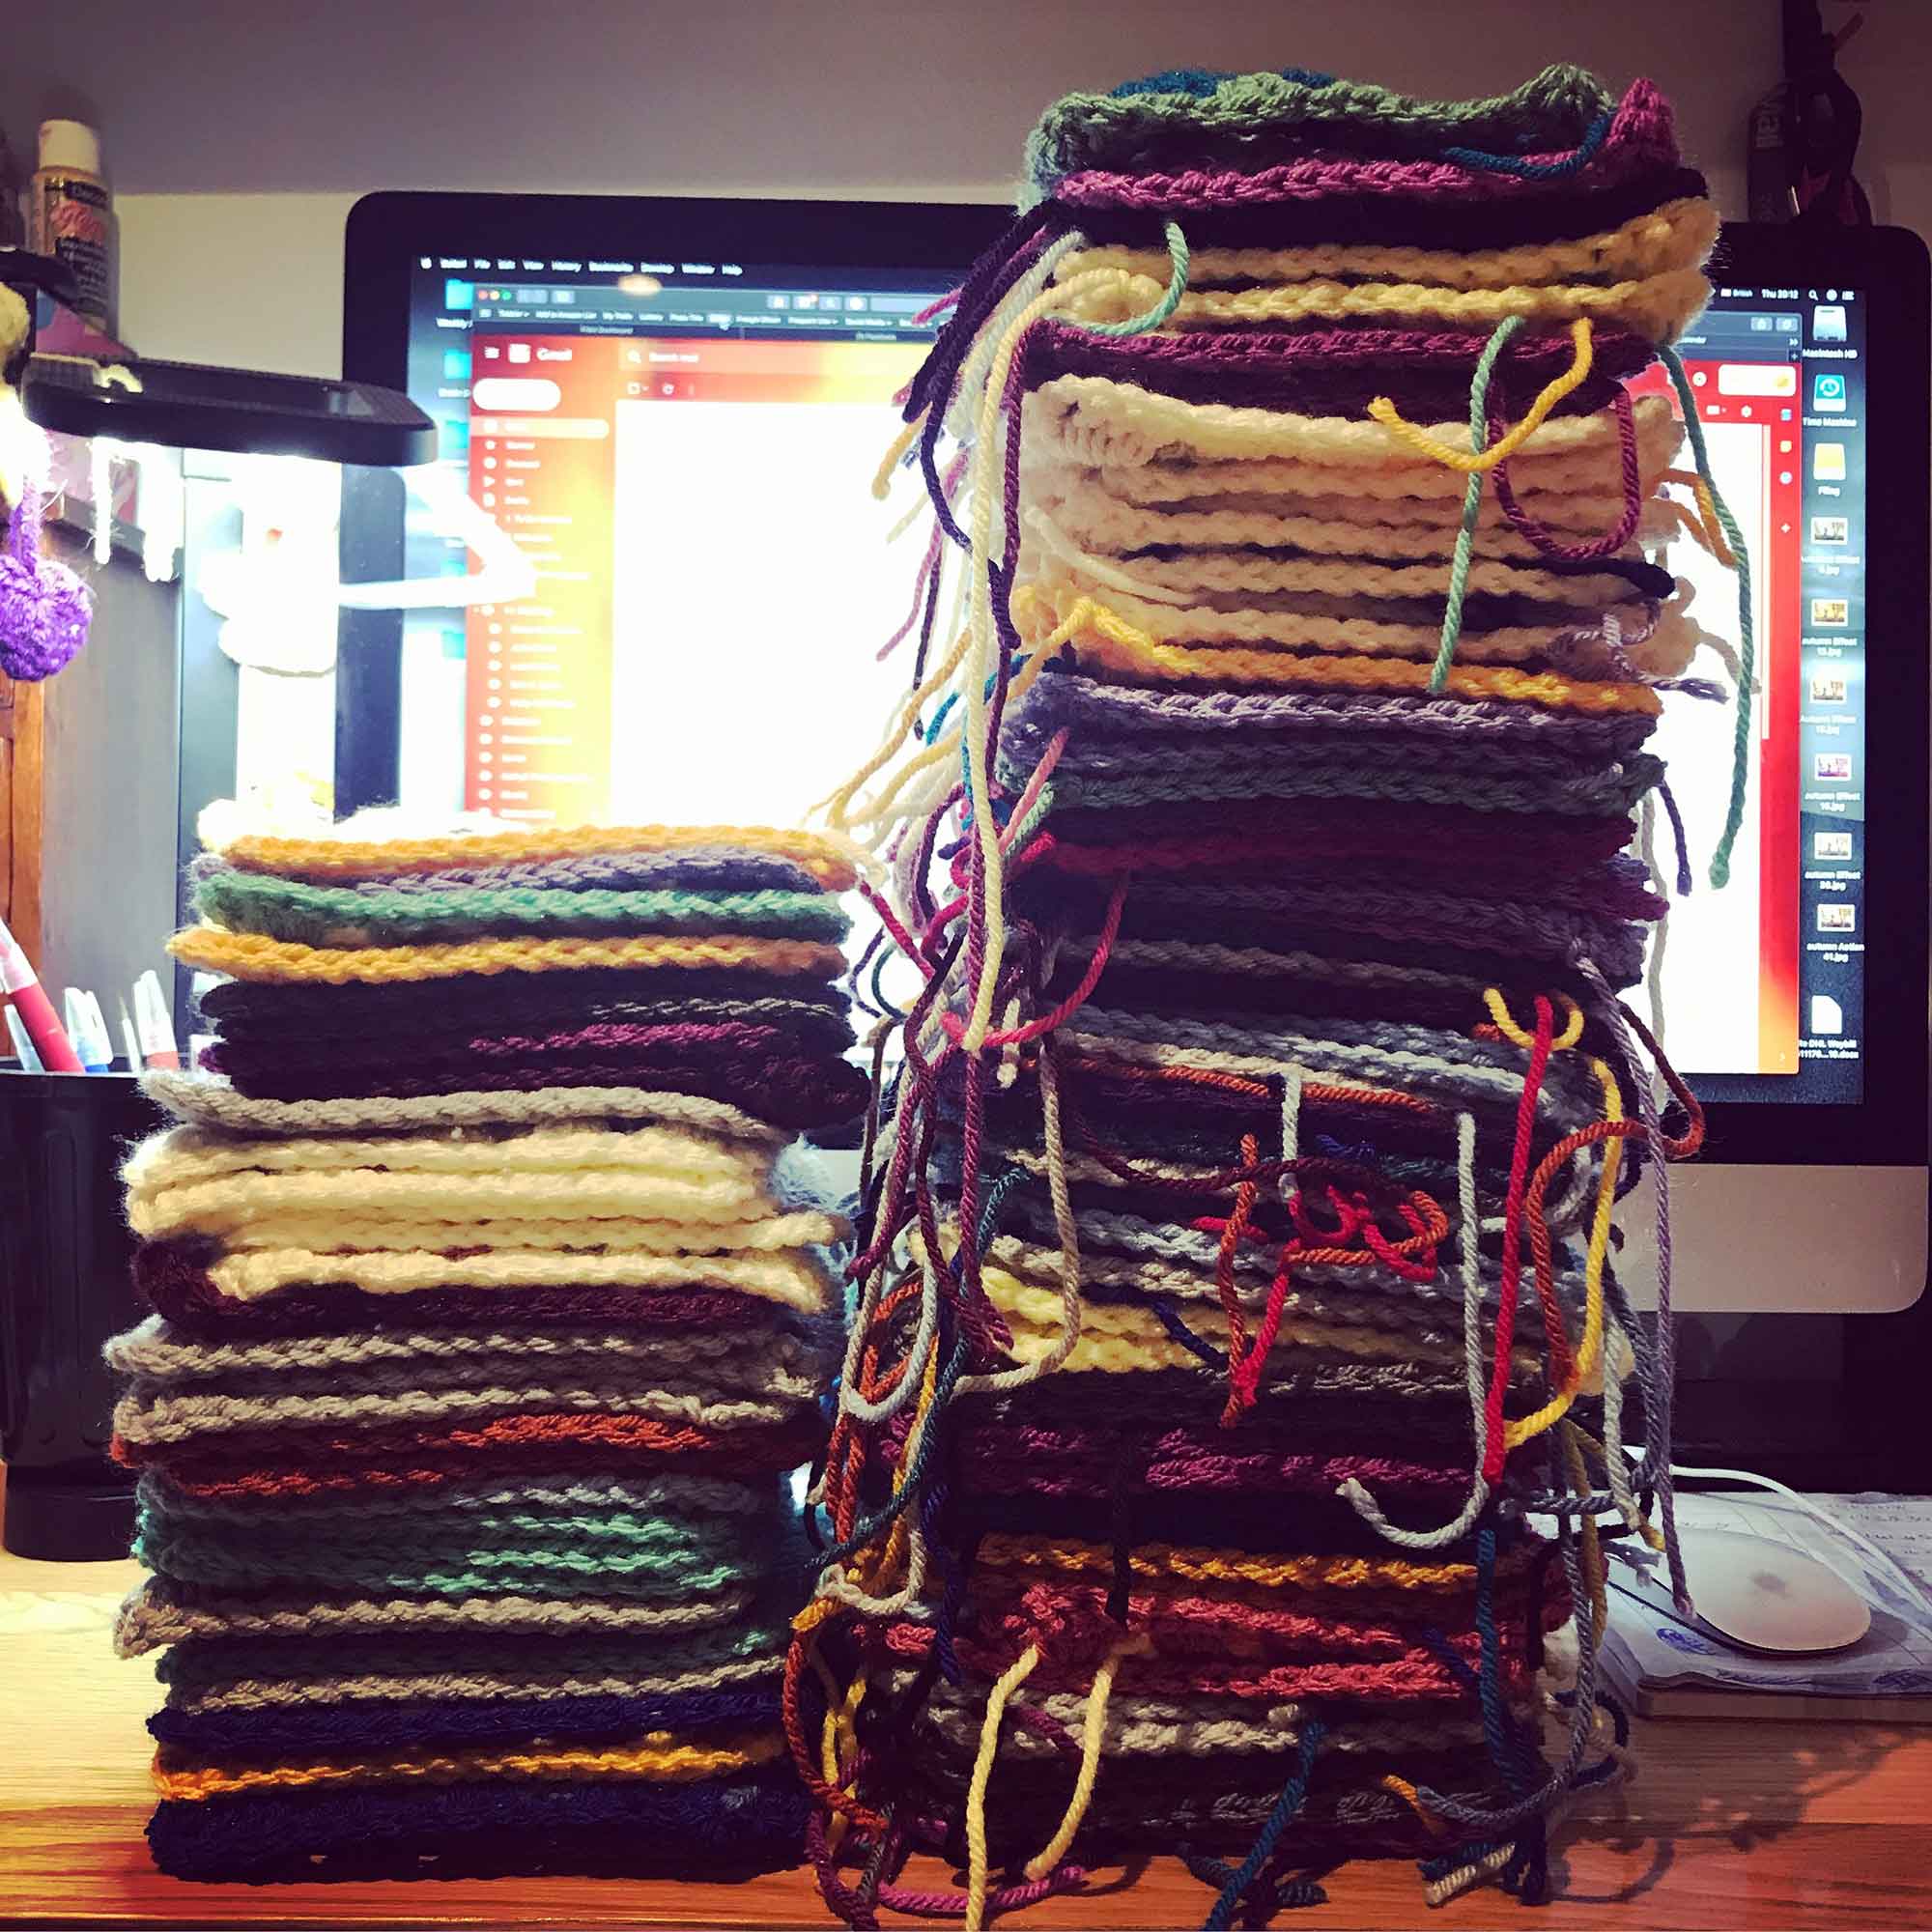
The pile on the left is ready to go, the pile on the right still needs the ends sewn in…
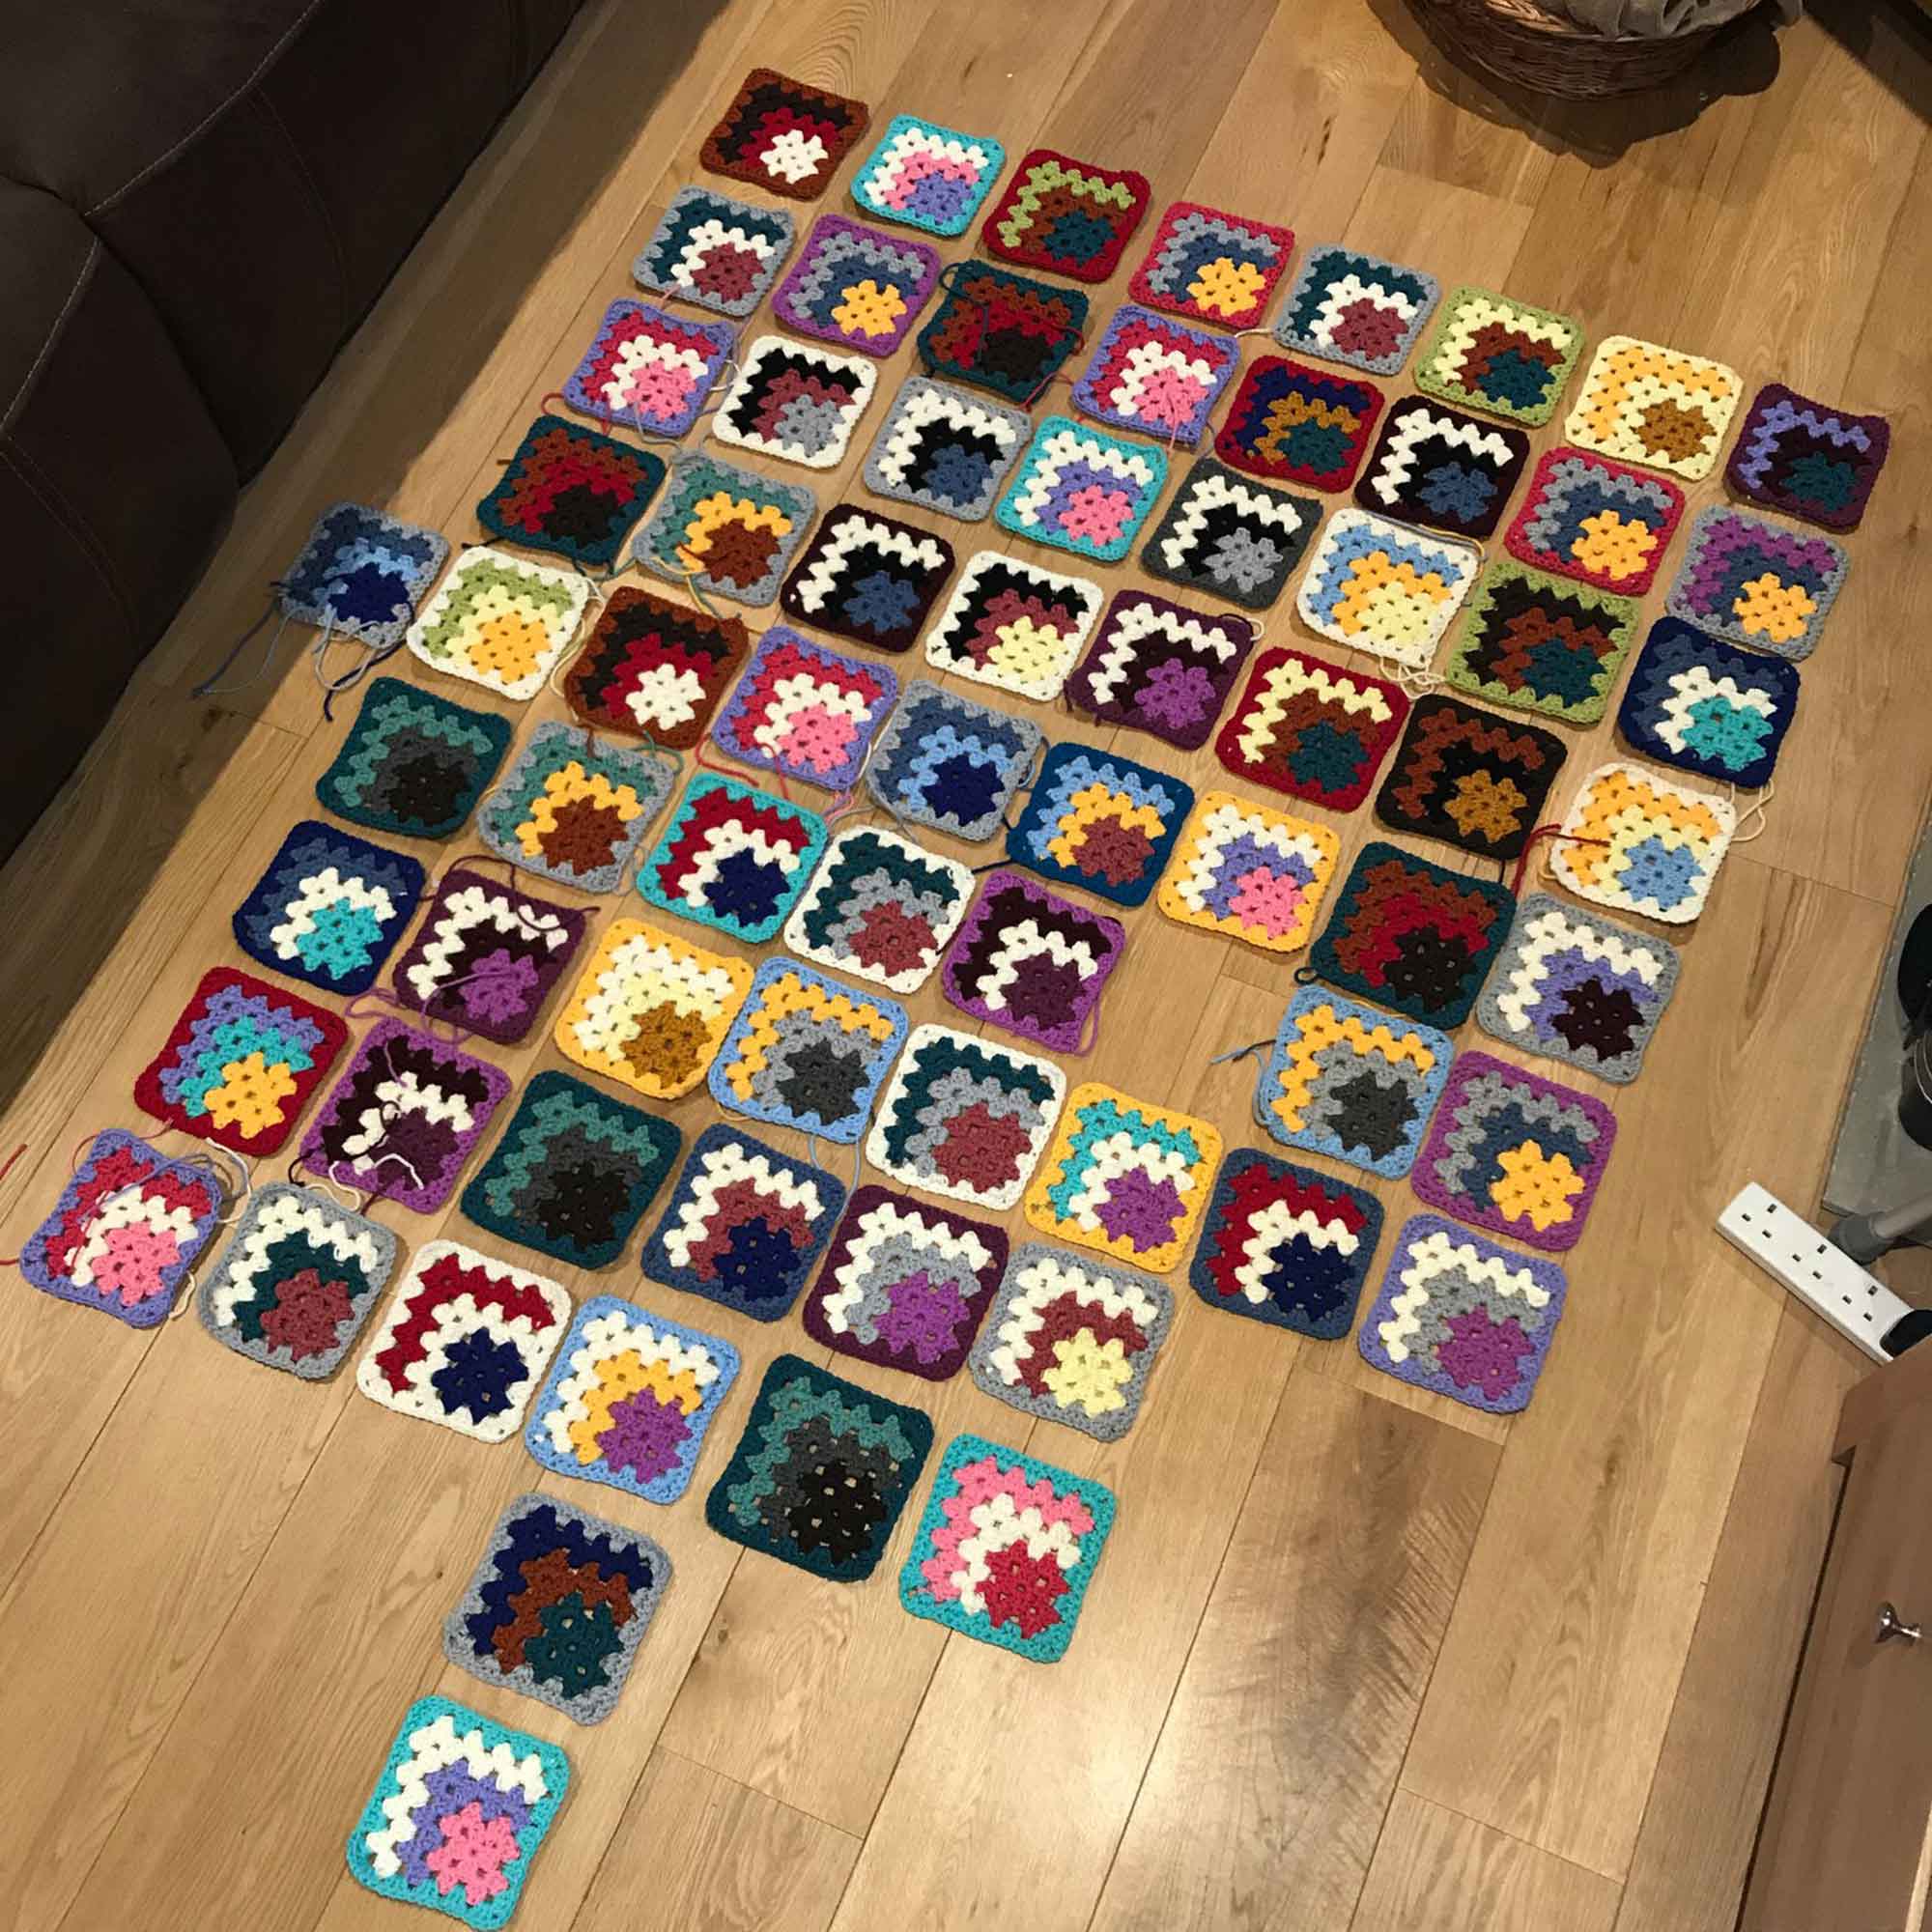
There are gaps to be filled.
Some assembly needed.
There are a few different ways to join your squares. I chose this one
It took a while…


So close… just the ends to tidy up now.
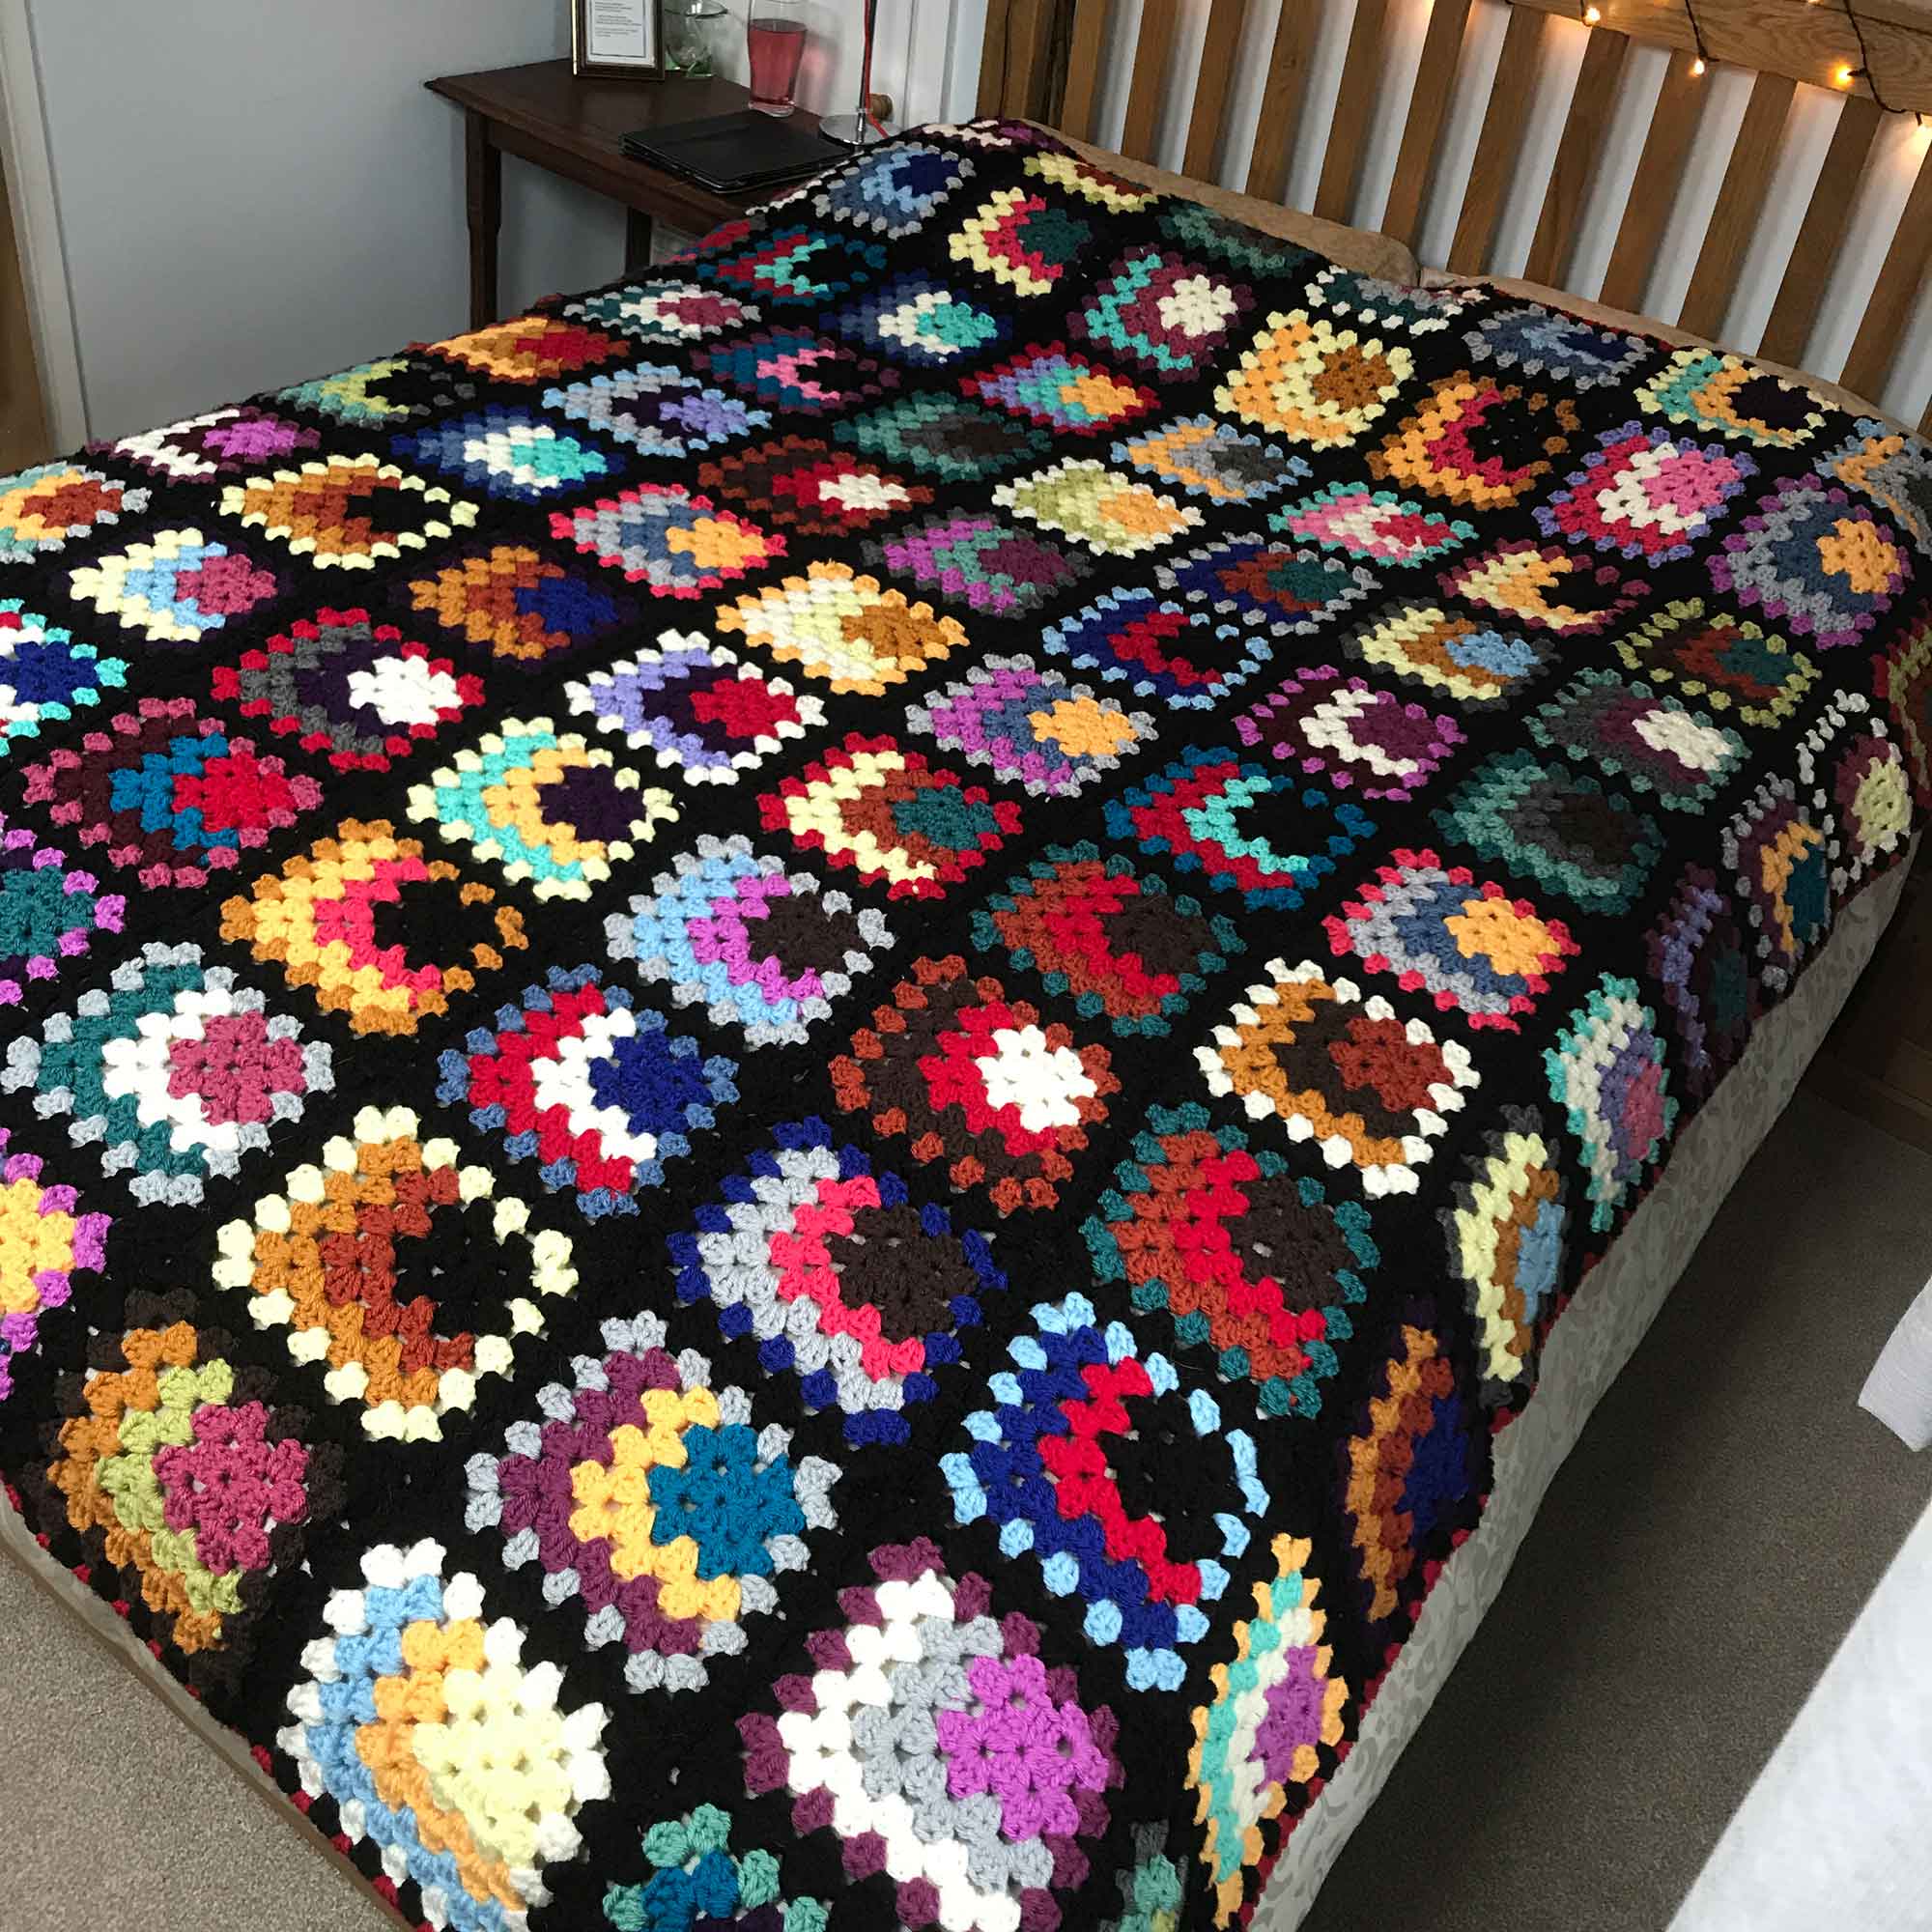
And I am done. Ta dah! My first, final, finished, double bed size, handmade, granny square blanket. Let the snuggles begin.

A lazy start. Sunday brunch of Eggs Benedict served on a Ciabatta with Smoked Salmon, Spinach, Mushrooms and Cherry Tomatoes and a cup of delicious freshly ground Coffee. Wye Oak on itunes, a bit of homework, a few chores and Scott Pilgrim to watch later.
How to carve a pumpkin.

Happy Halloween.

You must be logged in to post a comment.